Import Existing Datasets
You can import existing test datasets from a file. This is particularly useful when you already have a dataset that you want to use for evaluation.
In this section, we will walk you through how to import existing datasets from a JSONL or CSV file, obtained from another tool, like Giskard Open Source.
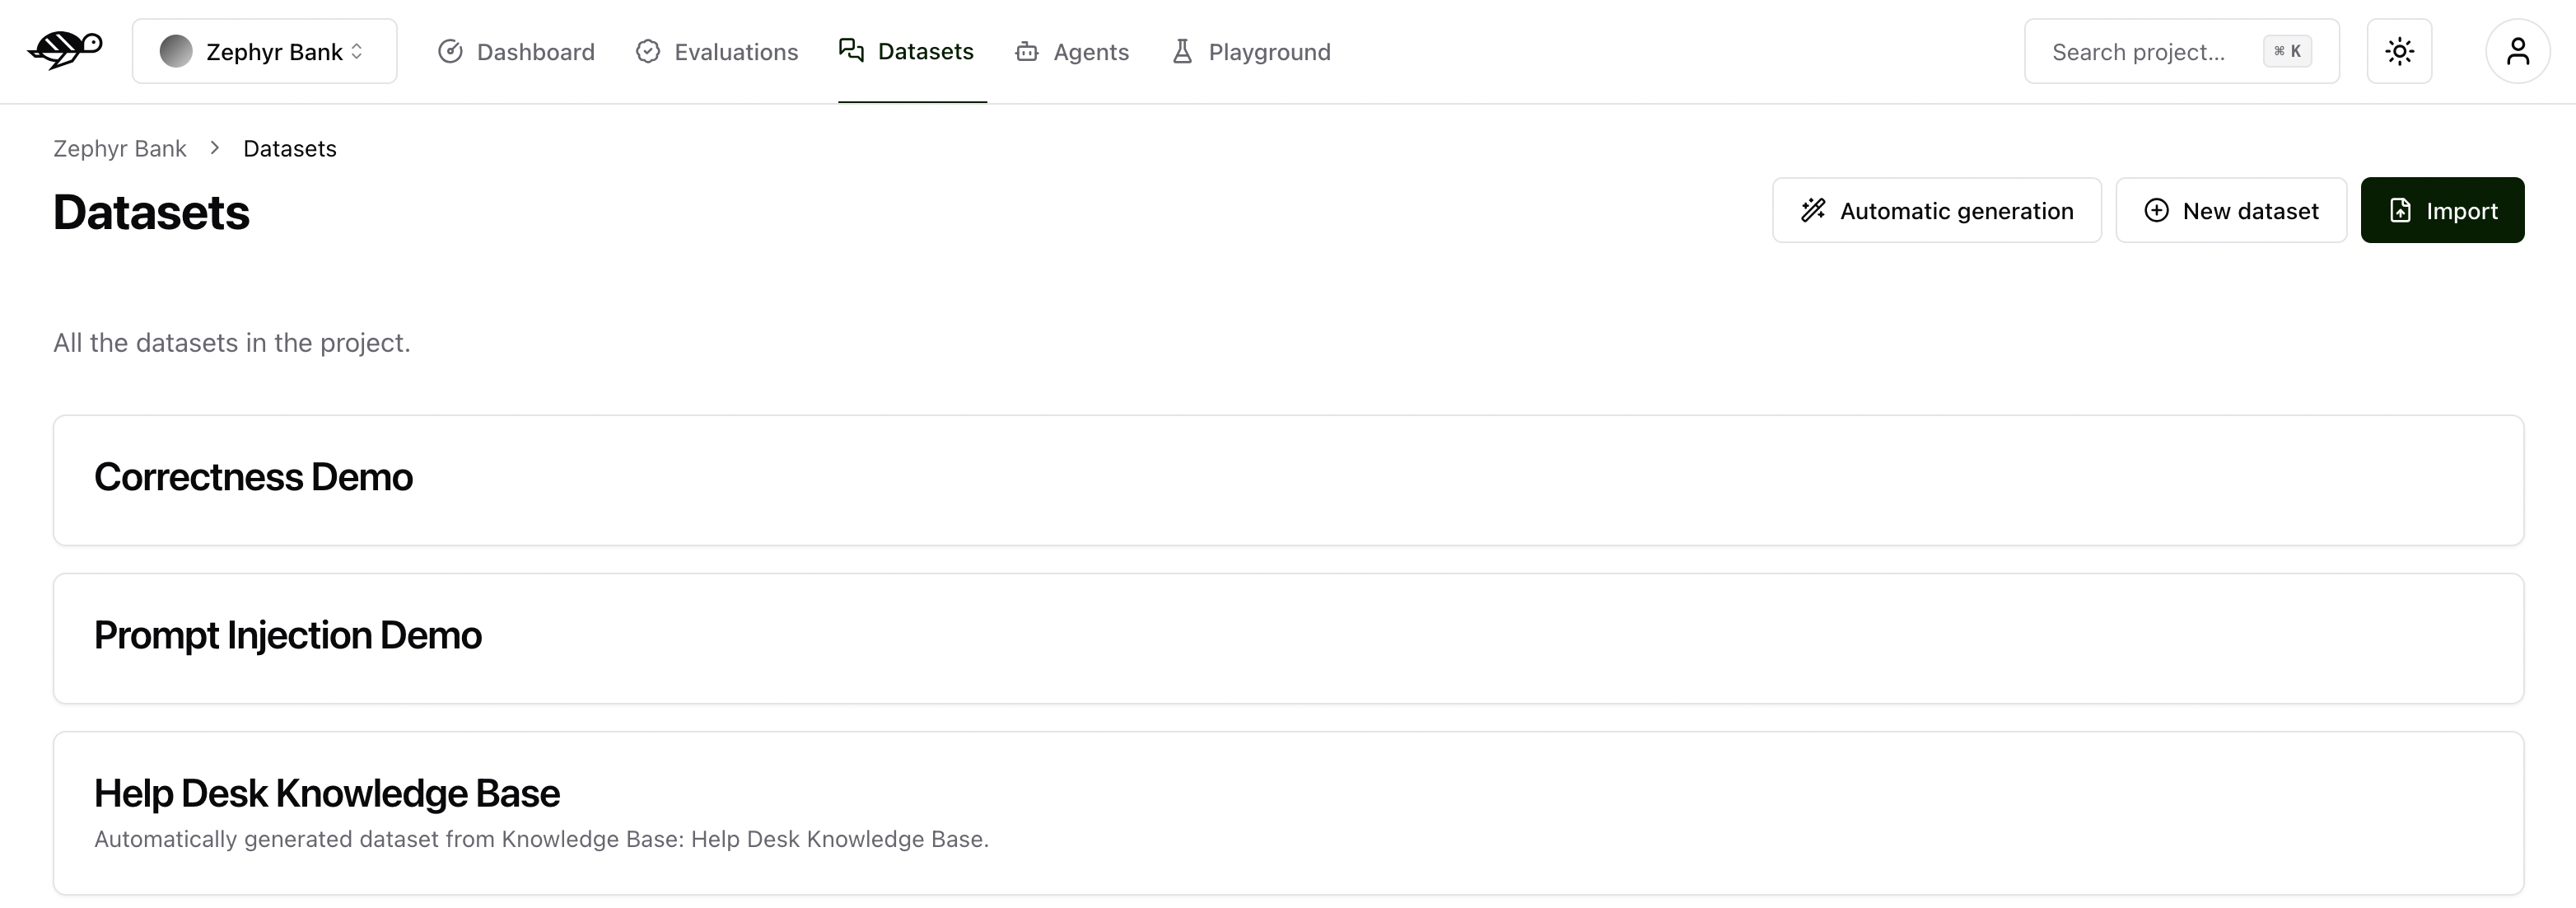
Create a new dataset
On the Datasets page, click on “New dataset” button in the upper right corner of the screen. You’ll then be prompted to enter a name and description for your new dataset.
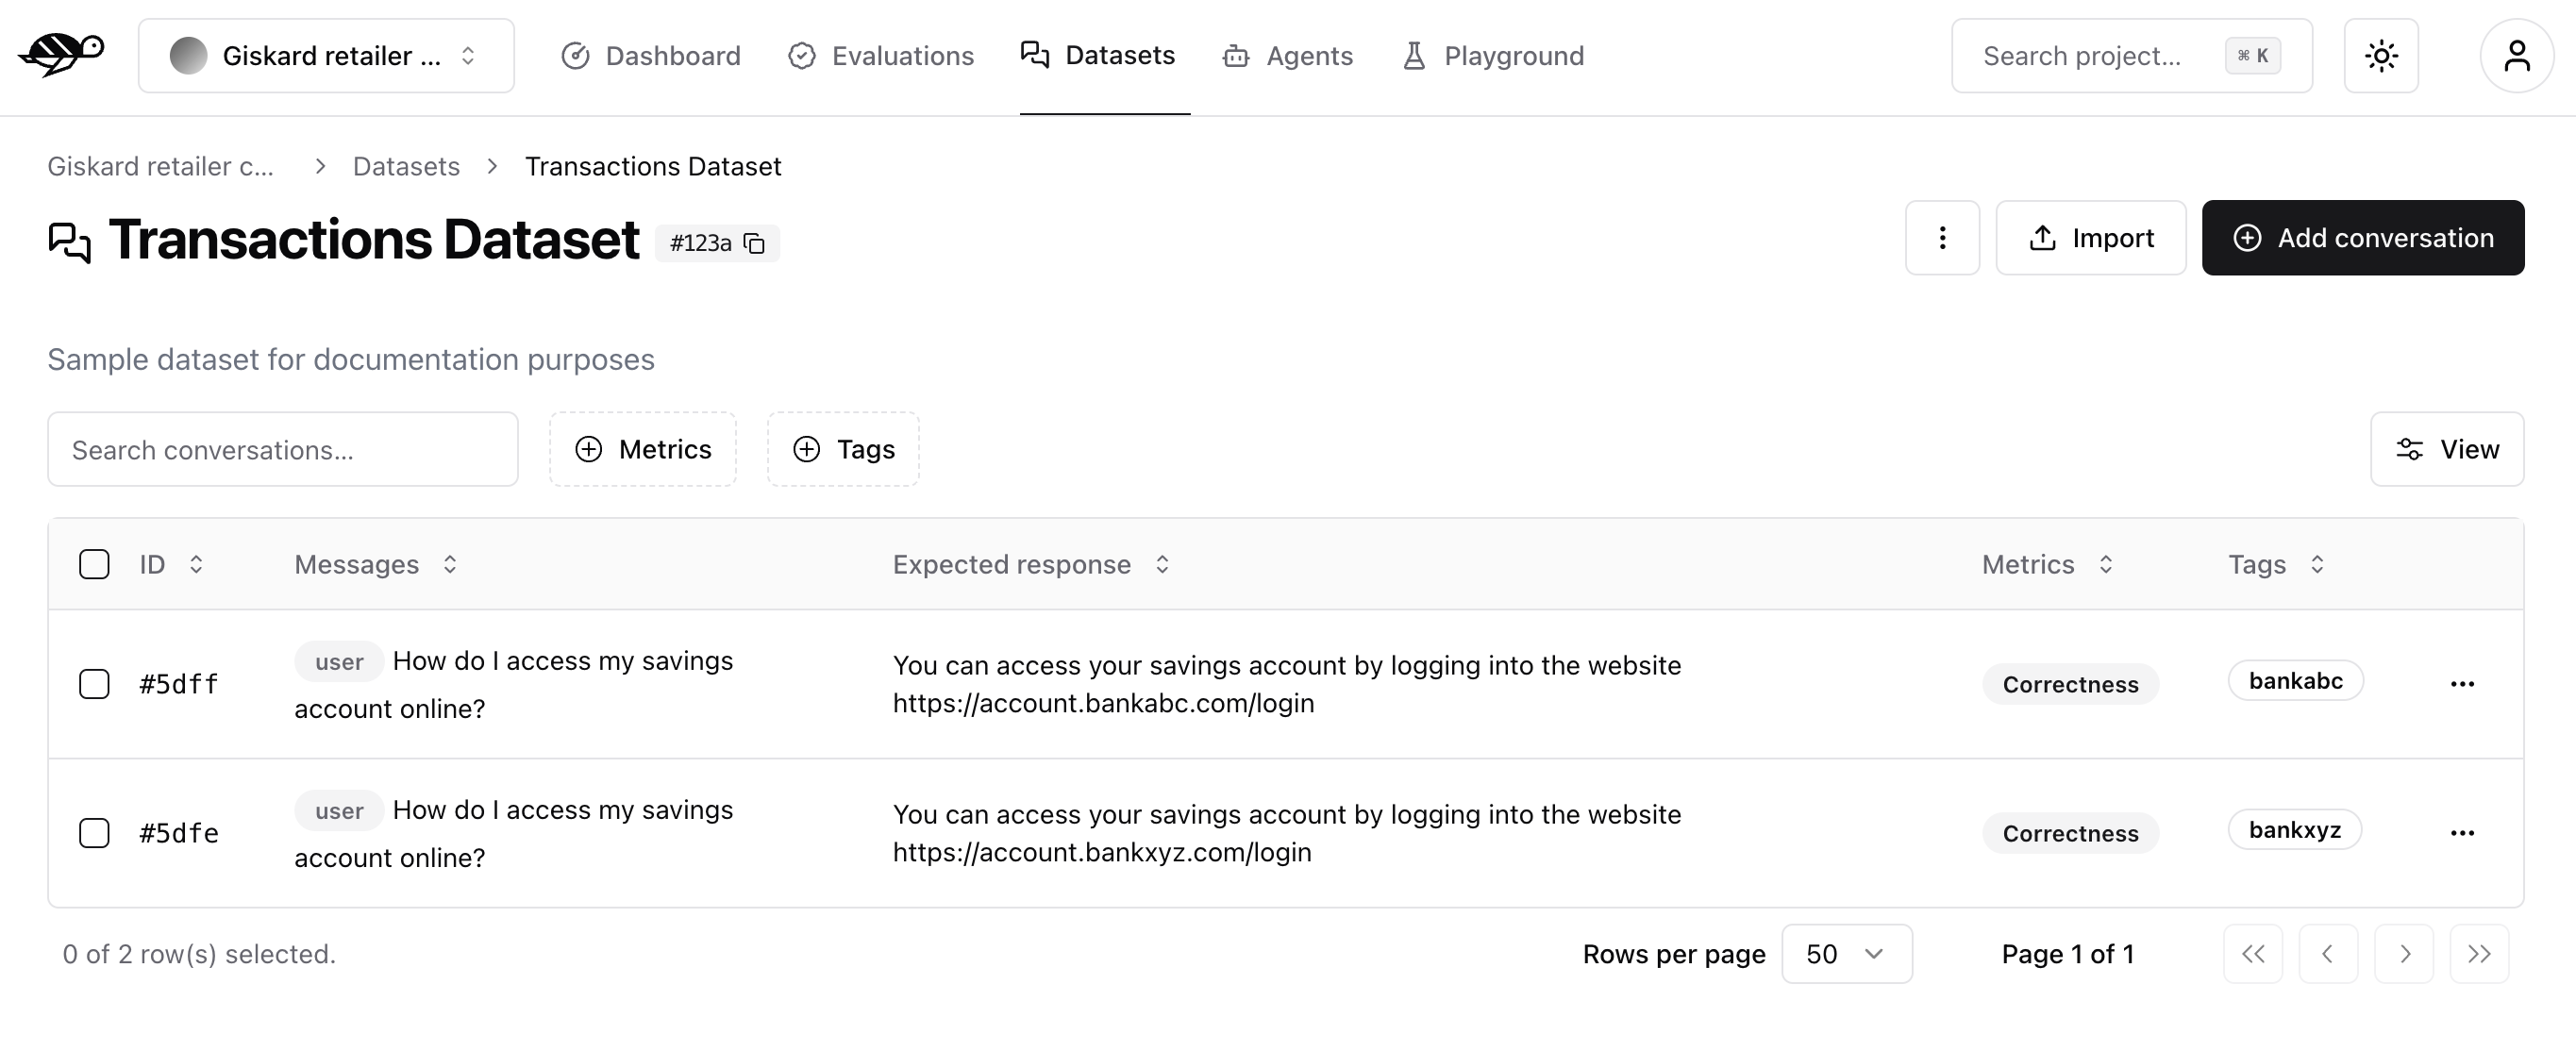
After creating the dataset, you can either import multiple conversations or add individual conversations to it.
Import a dataset of conversations
To import conversations, click the “Import” button in the upper right corner of the screen.
You can import data in JSON or JSONL format, containing an array of conversations (or a conversation object per line, if JSONL).
Each conversation must be defined as a JSON object with a messages field containing the chat messages in OpenAI format. You can also specify these optional attributes:
demo_output: an object presenting the output of the agent at some pointtags: a list of tags to categorize the conversationchecks: a list of checks to evaluate the conversation, they can be built-in or custom ones
Note
For detailed information about built-in checks like correctness, conformity, groundedness, string matching, metadata, and semantic similarity, including examples and how they work, see Review tests with human feedback.
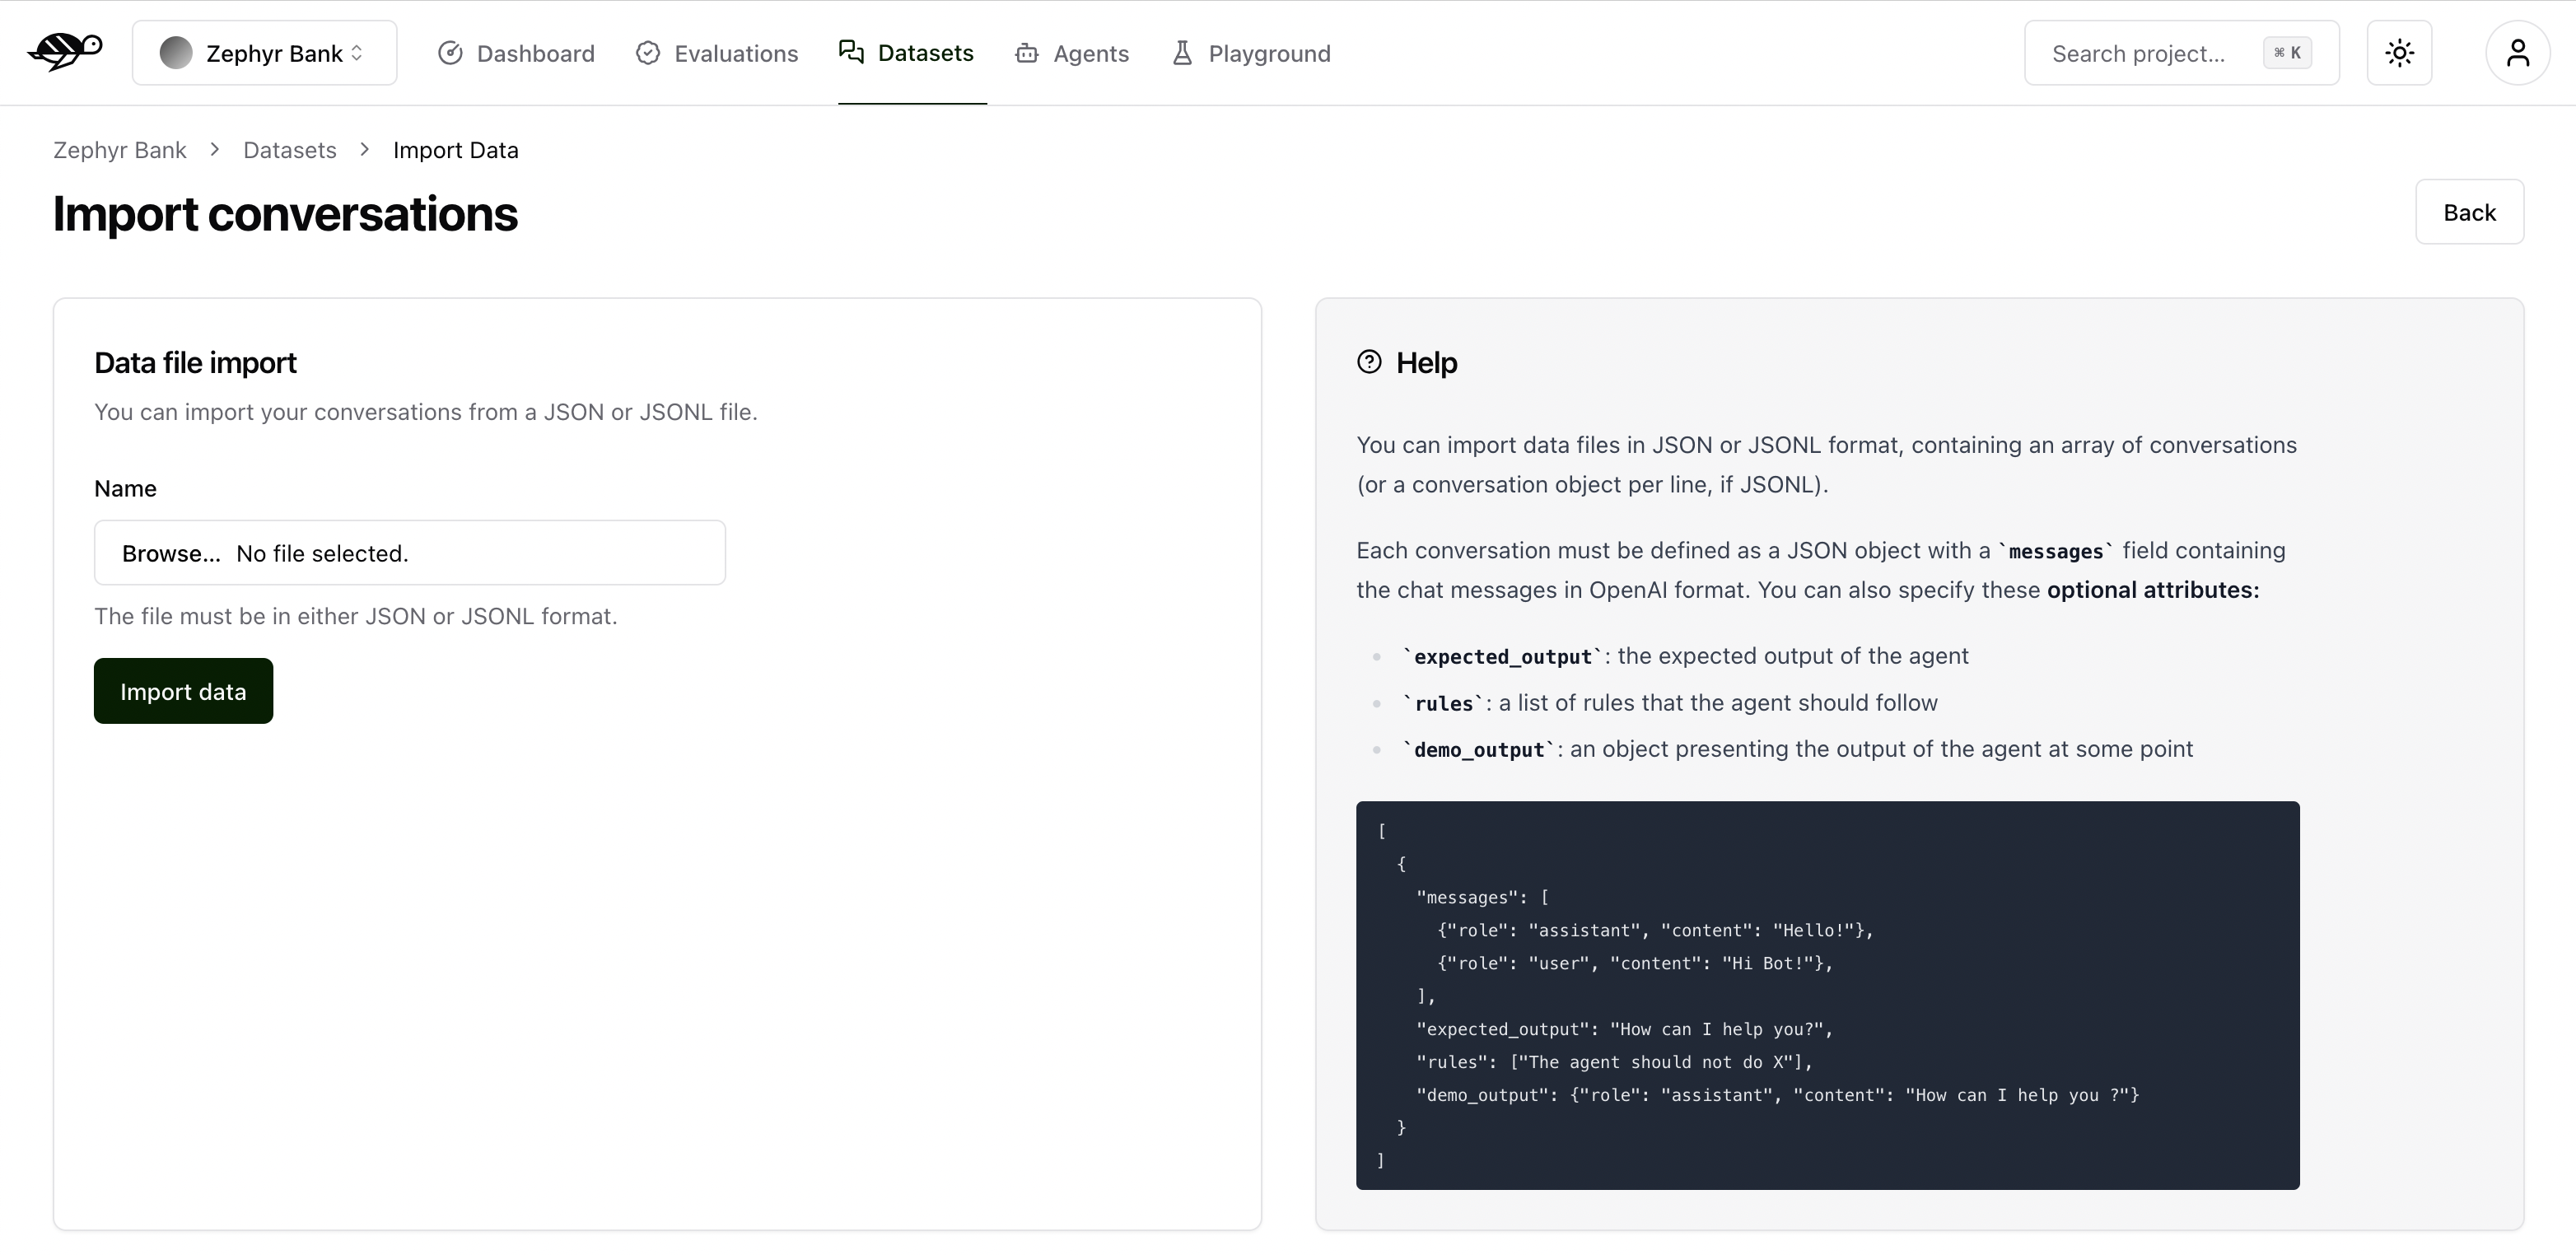
Here’s an example of the structure and content in a dataset:
[
    {
        "messages": [
            {"role": "assistant", "content": "Hello!"},
            {"role": "user", "content": "Hi Agent!"},
        ],
        "demo_output": {"role": "assistant", "content": "How can I help you ?"},
        "tags": ["greetings"],
        "checks": [
            {"identifier": "correctness", "params": {"reference": "How can I help you?"}},
            {"identifier": "conformity", "params": {"rules": ["The agent should not do X"]}},
            {"identifier": "metadata", "params": {"json_path_rules": [{"json_path": "$.tool", "expected_value": "calculator", "expected_value_type": "string"}]}},
            {"identifier": "semantic_similarity", "params": {"reference": "How can I help you?", "threshold": 0.8}},
        ]
    }
]
Alternatively, you can import data in CSV format, containing one message per line.
Tip
If you need help creating a CSV file, see this example guide.
Each CSV must contain a user_message column representing the message from the user. Additionally, the file can contain optional attributes:
bot_message: the answer from the agenttag*: the list of tags (i.e. tag_1,tag_2,…)expected_output: the expected output (reference answer) the agent should generaterule*: the list of rules the agent should follow (i.e. rule_1,rule_2,…)reference_context: the context in which the agent must ground its responsecheck*: the list of custom checks (i.e. check_1,check_2,…)
Here’s an example of the structure and content in a dataset:
user_message,bot_message,tag_1,tag_2,expected_output,rule_1,rule_2,check_1,check_2
Hi agent!,How can I help you?,greetings,assistance,How can I help you?,The agent should not do X,The agent should be polite,u_greet,u_polite
Next steps
Review test case - Make sure to Review tests with human feedback
Generate test cases - Try Detect business failures by generating synthetic tests or Detect security vulnerabilities by generating synthetic tests